Here is the Step-by-Step Guide to paint a rustic wooden house surrounded by trees and a lake. Starting from the initial yellow paint for the background to the more detailed brushstrokes on the house, and the finished watercolor painting that gives us a golden autumn atmosphere.
Preparation Materials Needed:
- Paper: I used arches rough 300gsm watercolor paper
- For the colors, please watch the video of this painting process on my YouTube channel, I mentioned the colors on the palette at the beginning of my video.
- Other materials: Watercolor brushes, masking tape, clean water, color palette, HB pencil, drawing board.

| Preview | Product | Rating | Price | |
|---|---|---|---|---|

|
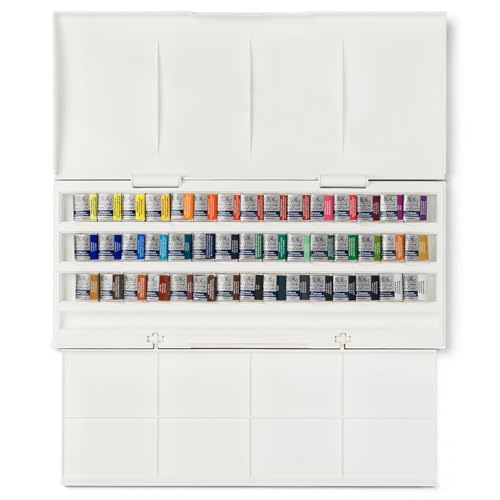
Winsor & Newton Cotman Watercolor Paint Set, Studio Set, 45 Half Pan w/ Brush | No ratings yet | $58.78 | Buy on Amazon |

|
Arches Watercolor Paper Block, Cold Press, 12" x 16", 140 pound | No ratings yet |
$65.39 |
Buy on Amazon |

|
Winsor & Newton Cotman Short Handle Brushes, Set of 4, (Round 1, 4, & 6, One Stroke 3/8") | No ratings yet |
$24.78 |
Buy on Amazon |
1. Prepare the Sketch

First, sketch the composition of the painting with a HB pencil, focusing mainly on the house and the trees around it. Focus on getting the proportions right and include key details such as the roof, the placement of the trees, and any foreground elements like rocks or reflections.
2. Light water wash:

After finishing the sketch, lightly wet the paper to prepare for the background wash using a large flat brush. This is a crucial step in watercolor painting to ensure the colors blend smoothly and slightly without pooling too much.
3. Applying the background wash

Begin by applying a light wash of yellow and orange to the background, primarily around the trees and the lake in front of the house. This yellow tone creates an autumn feeling with sunlight and the changing colors of the leaves. At this stage, use very light colors and a lot of water to allow for natural blending, and set up the foundation for later details.
4. Start Painting the Wood House

Once the background dries, start adding color to the house. The roof, walls, and main features are painted with shades of brown, orange, and light yellow to create a contrast against the yellow background of the trees.
In the beginning, light tones should still be used to maintain harmony with the sky and the trees. Continues with more details such as shading and wooden structures.
5. Add Color to the Trees

Now, move on to the trees. Use a mixture of orange and yellow for the foliage, as this gives the impression of autumn leaves.
Use a medium brush and dab the paint to create texture for the leaves. Note that, wetting paper before applying the paint to help the colors blend for a soft, natural look.
6. Define the Shadows and Background

To add depth, start painting the shadows and darker parts of the background. Use a blend of dark gray and greenish-gray to create the shadowy areas behind the house and trees.
This contrast between the darker background and lighter foreground will make the house and trees pop visually.
7. Add Details to Trees and Rocks

Use a smaller brush to add details to the trees and rocks around the house. Add more layers of warm oranges, yellows, and browns to the trees, and add some light greens to the rocks.
Pay attention to areas where shadows might fall under the trees and rocks to give the painting more dimension.

After finishing the base layers and main colors, you can add smaller details like the leaves and shadows of the house to make the painting more lively. Your painting is progressing beautifully and captures the autumn atmosphere well!
8. Complete the Foreground and Reflection

Continue finish the painting by adding more details and refining the reflections in the water. Let’s make sure the water’s surface is slightly more muted than the actual objects it reflects. This will create balance to the composition.
9. Final Adjustments

After the painting dries, make any final touch-ups. Add stronger contrasts if necessary by darkening shadows or refining the edges of the house and trees.
Consider adding small details, like additional branches or highlights on the house’s roof, for the painting a more depth and complete look.
Tips for Success in Autumn Watercolor Painting
- Let’s allow each layer to dry before adding the next to avoid muddying the colors.
- Use light washes first, then build up to darker tones gradually. Although you can always add more color, removing it once applied is difficult if you make a mistake.
- When working wet-on-wet, let the colors naturally flow into each other for soft transitions.
By following these steps. I hope you’ll achieve this peaceful autumn watercolor landscape painting with a cozy wooden house and rows of golden trees reflected on a serene body of water.
